Chocolate Peanut Butter Rice Krispie Cups
These Chocolate Peanut Butter Rice Krispie Cups are a fun and irresistible no-bake treat that combines the creamy, nutty flavor of peanut butter with the crunch of Rice Krispies, all coated in a rich layer of chocolate. Perfect for satisfying your sweet tooth, these treats are simple to make, require just a few ingredients, and are guaranteed to be a hit at any gathering!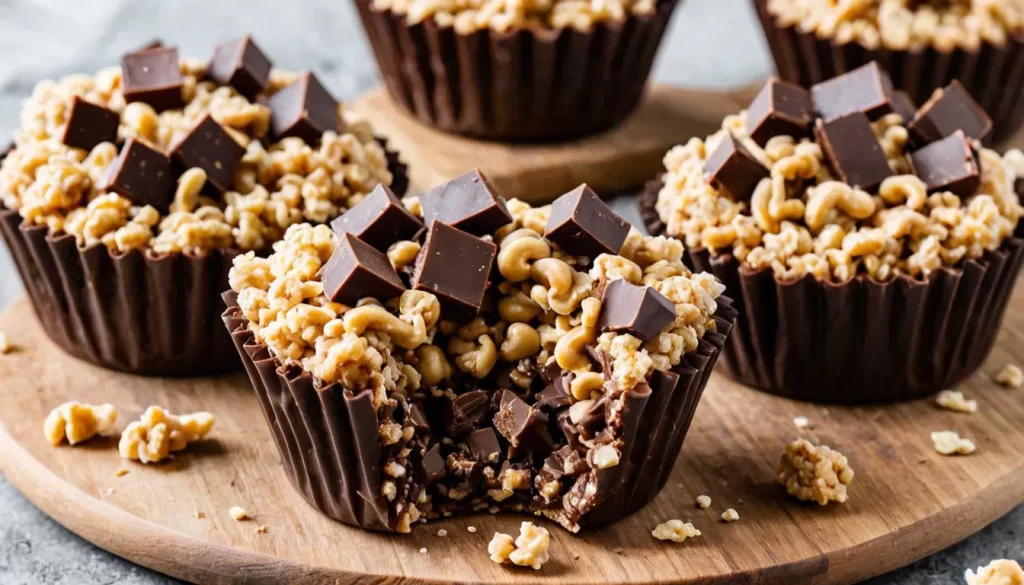
Ingredients:
- For the Rice Krispie Layer:
- 3 cups Rice Krispies cereal
- 1/2 cup creamy peanut butter (smooth, not chunky)
- 1/4 cup unsalted butter
- 1 cup powdered sugar
- For the Chocolate Layer:
- 1 cup semisweet chocolate chips (or milk chocolate chips if preferred)
- 1 tablespoon unsalted butter
Instructions:
1. Make the Rice Krispie Layer:
- In a medium saucepan, melt the butter over medium heat. Once the butter is melted, add the peanut butter and stir until smooth and well combined.
- Gradually stir in the powdered sugar, mixing until the sugar is fully incorporated.
- Add the Rice Krispies cereal to the peanut butter mixture. Stir gently until all the cereal is coated in the peanut butter mixture.
- Spoon the mixture into a lined muffin tin (12-cup capacity) or silicone muffin cups, pressing down gently to pack the mixture into the cups. You can also use a baking dish if you prefer to make one large batch to cut into squares later.
- Place the muffin tin or baking dish in the fridge for about 30 minutes to allow the Rice Krispie layer to firm up.
2. Prepare the Chocolate Layer:
- In a microwave-safe bowl, combine the chocolate chips and butter. Microwave in 30-second intervals, stirring after each interval, until the chocolate is completely melted and smooth. Be careful not to overheat it—this usually takes about 1-1.5 minutes.
- Stir until the chocolate is glossy and fully combined with the butter.
3. Assemble the Cups:
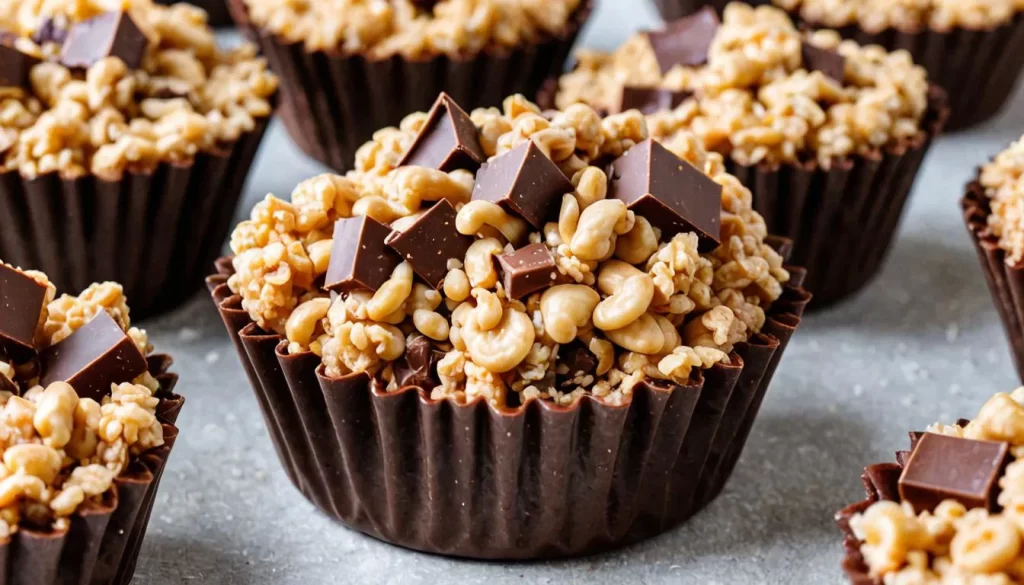
- Once the Rice Krispie layer has set and hardened, spoon the melted chocolate over each cup, covering the peanut butter mixture completely. You can use a spoon or a small offset spatula to smooth the chocolate on top.
- Place the cups back into the fridge for another 30-60 minutes, or until the chocolate has fully set.
4. Serve and Enjoy:
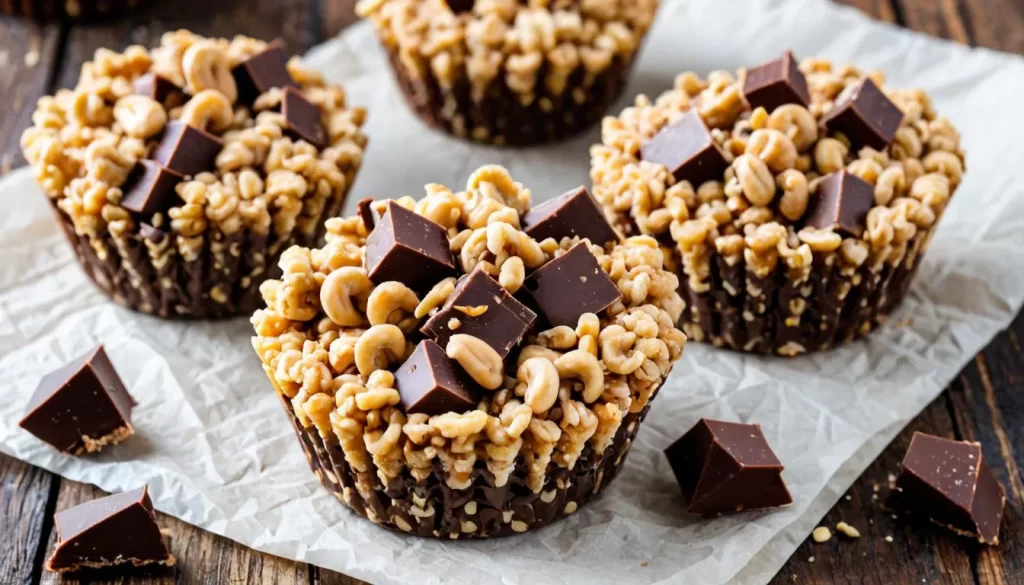
- Once the chocolate has hardened, remove the cups from the muffin tin or silicone molds. If using a baking dish, cut the treat into squares.
- Store any leftovers in an airtight container at room temperature for up to 3 days, or in the fridge for up to a week.
Tips for Success:
- Melt the chocolate carefully: When melting the chocolate, do so in small intervals and stir in between to avoid burning. You can also melt it using a double boiler if you prefer.
- Add a little salt: If you like a salty-sweet flavor, sprinkle a pinch of sea salt over the chocolate layer before it sets. This balances the sweetness of the chocolate and peanut butter.
- Nut butter alternatives: If you’re not a fan of peanut butter, you can substitute almond butter or cashew butter for a different nutty flavor. Just make sure the consistency is similar to peanut butter for the best result.
- Vegan or Dairy-Free: For a dairy-free or vegan version, use dairy-free chocolate chips and substitute the butter for coconut oil or a plant-based butter alternative.
These Chocolate Peanut Butter Rice Krispie Cups are the perfect combination of creamy, crunchy, and chocolaty—ideal for a quick snack or a crowd-pleasing dessert. They are easy to make, packed with flavor, and perfect for any occasion. Enjoy!


